“Insect Hotel”
The perfect way to celebrate International Biodiversity Day” (22 May): a bit of DIY to create a refuge for our garden allies!
“International Biodiversity Day was created in 1993 by the United Nations and has been observed on 22 May since 2000. Led by the United Nations General Assembly, this global campaign aims to promote awareness of the rich variety and variability of the world’s plant and animal species.”
We start constructing our insect hotel using only reclaimed wood and small treasures of Mother Nature. Insect hotels offer our animal friends a warm shelter for the winter as well as a protective cocoon for laying eggs in the summer. A sort of second home to complement all the natural shelters that you might find in a garden: dead leaves, trunks, wood piles, to name just a few.
Ready-made insect hotels can be found in shops. But building one is a perfect opportunity to enjoy a family activity, to tailor an insect hotel to your garden and to use reclaimed materials. Ready, set, go!
Insect hotels: an ally for our garden
Many insects are our allies in ensuring the balance in our gardens, which represent a true ecosystem. Allies against the pests that wreak havoc on our plants. And pollinating allies for our fruit trees and vegetable plants.
The advantages? It is both free and ecological!
We find so many helper insects in our gardens, such as ladybirds who eat aphids, cochineals and mites; coccoids, those tiny flying green insects whose larva can devour up to 500 aphids in just 3 weeks; earwigs who eat microscopic fungus as well as aphids and slug eggs; honey bees and bumblebees who take care of pollinating plants and then, of course, syrphid flies or hoverflies, those foraging flies that look like wasps but who adore nectaring above flowers, not only pollinating but also consuming aphids, particularly those left behind by ladybirds.
We are finally beginning to appreciate these little insects.
The material needed to build an insect hotel
One of the goals behind building our insect hotel out of reclaimed materials is to control its cost, to aim for “no or little outlay” and to give a second life to odds and ends in our garage or cellar.
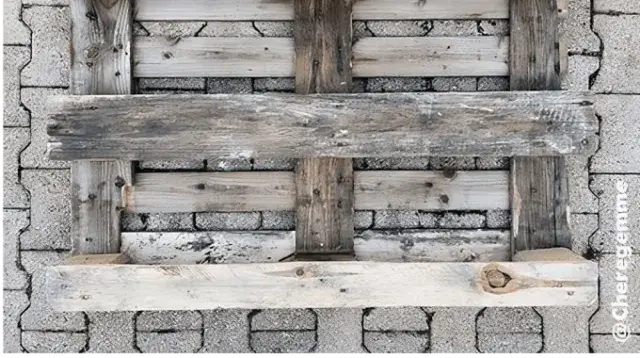
For the insect hotel’s framework
We'll make use of a pallet that we have left over from another project. The advantage to using a pallet is that by stripping off several boards with a flat chisel and a mallet and using some nails and a hammer, we can construct the foundation to our hotel without cutting!
If you don’t have a pallet, use some hard wood such as oak, chestnut or black locust (false acacia), which are naturally moisture resistant. And if you only have soft wood, such as pine, fir, spruce or larch, be sure to treat it by autoclave in order to protect your insect hotel from all types of weather.
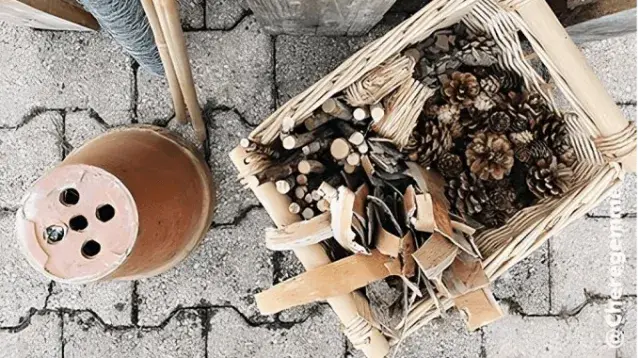
And for the rest, we collect all sorts of small natural materials such as branches, pine cones, straw, bamboo stalks, bark, etc.
You can also use terracotta pots or bricks. All those tiny treasures that you find lying around and that will make a perfect refuge for our insect friends. Some elements, such as branches, can be simply set in the structure whereas others will have to be held in place with wire mesh. To attach the mesh to the structure, you will need a stapler and some staples.
You will see that, depending on your design, certain insects will be more likely to show up than others; we’ll look at this later.
To protect your insect hotel from the humidity of rain and the ground, two finishing touches provide the perfect solution: use several boards to build a roof with a waterproof covering (tiles, slate) and raise the insect hotel about twelve inches/thirty centimetres above the ground using stakes.
Making the insect hotel structure
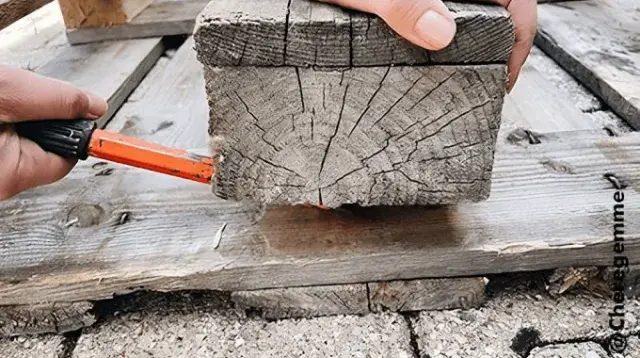
If you’re using a pallet, the insect hotel is already practically finished!
No cutting, just a bit of elbow grease. The first step is to use a flat chisel and mallet to remove one of the boards from the bottom of the pallet (side in contact with the ground), being careful to keep intact the 3 wooden cubes.
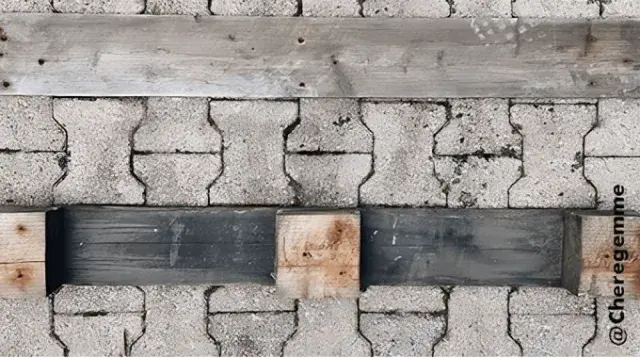
Then you do the same thing to remove a board from the upper side of the pallet (side that actually holds merchandise).
We have just gotten through the most difficult step ^^.
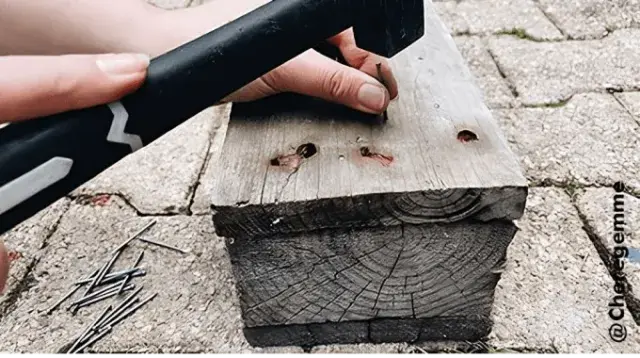
Start by separating a board from the upper side of the pallet as well as a board and its 3 cubes from the bottom of the pallet, and then nail them together.
You nail the one board from the upper side to the cubes.
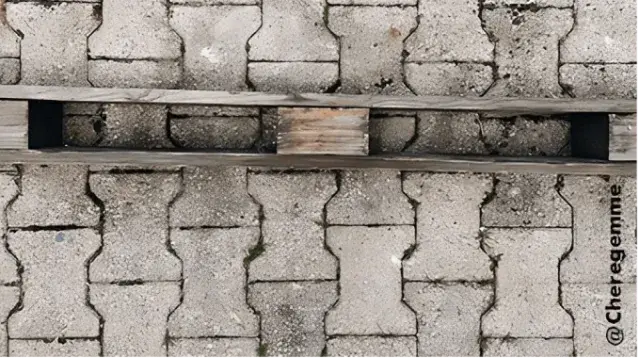
You now have the structure to the foundation of your insect hotel.
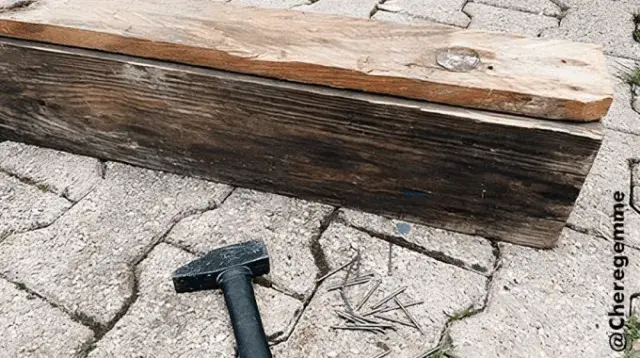
Making the base to the insect hotel
Using a flat chisel and a mallet, take a new board from the upper side of the pallet that you will then nail to the back of the structure.
The structure is now ready. You can now think about where to install the insect hotel and how you want to set it up.
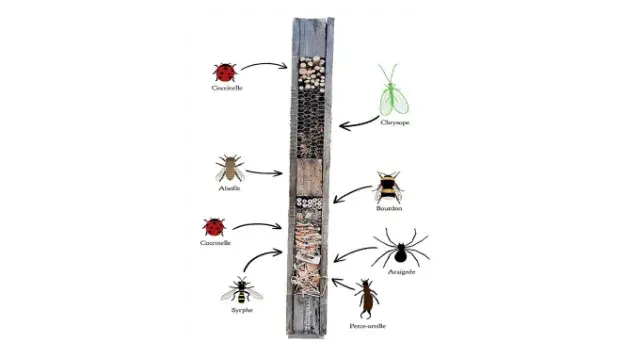
Arranging the insect hotel
Depending on the design of your hotel, certain insects will show up more than others.
Sticks are ideal for drawing ladybirds.
Pine cones can make a perfect hideaway for coccoids; wood with holes and bamboo stalks will shelter osmia (orchard bees) and bumblebees; bark and brambles will draw syrphid flies; and, finally, pieces of terracotta pots and straw will attract earwigs and spiders (oh hold on, those are not really insects^^).
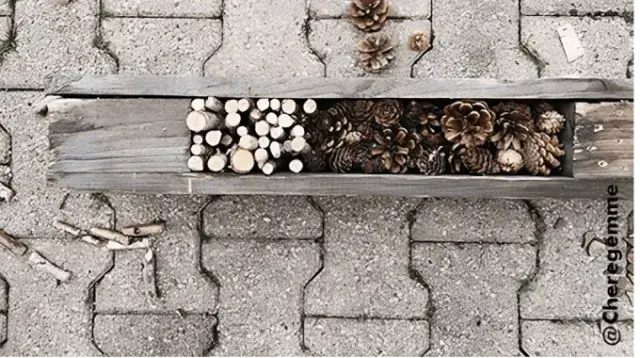
Finish off your insect hotel with whatever odds and ends are lying around.
There is no limit to the amount of wood or pine cones you can add. And if you have more pine cones than logs... all the better for the coccoids!
Once your insect hotel has been completed, staple a couple pieces of wire mesh over it to prevent any of the materials from falling out.
For our insect hotel, we put some mesh in front of the pine cones and small pieces of bark.
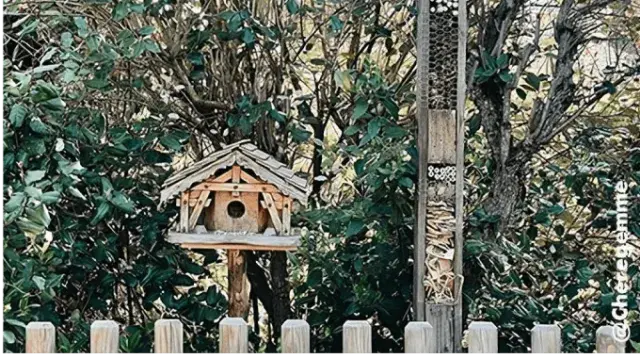
Setting up the insect hotel
Facing south so the insects can take advantage of the sunlight. The best location is somewhere where the hotel is protected from wind and humidity.
Under a tree or inside a hedge as protection against wind and rain. And to protect it from the humidity of the ground and to ensure the structure doesn’t tip over, raise your insect hotel about 12 in/30 cm off the ground, attaching it to a stake of about 20 in/50 cm stuck into the ground.
Your insect hotel is ready! Now, you just have to wait for the insects to arrive.
DIY article created and written by ©Cheregemme / Photos by ©Cheregemme
